A Milkcocoa Flow
Here we create a flow to save data to Milkcocoa. The stored data can be used as a Milkcocoa DataSource.
Check the DataSource
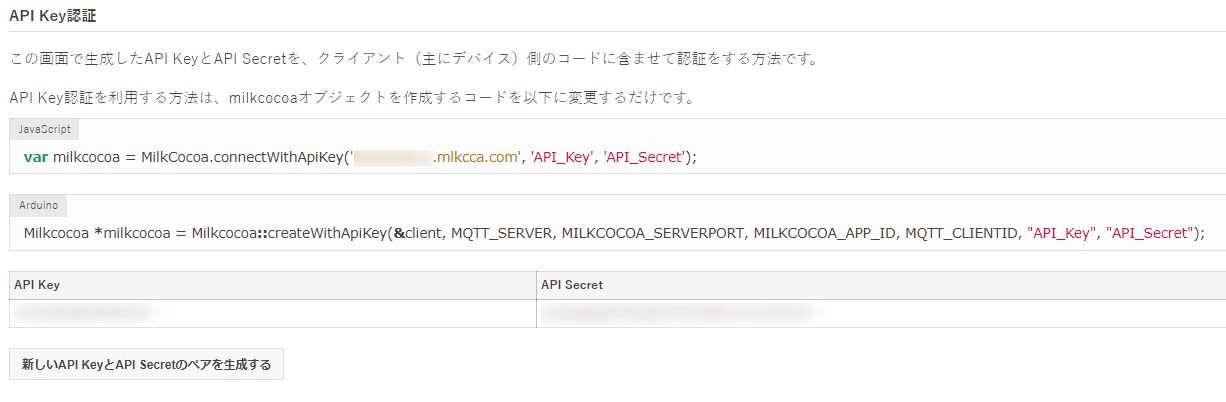
First, confirm the details of the DataSource that will be used. Before creating the flow, refer to the Milkcocoa tutorial page Preparing to use Milkcocoa, create an app and make note of the app_id, and then also the API Key and API Secret from the authentication tab in the Milkcocoa management screen.
Here, we'll use a Milkcocoa data store called mbed for the DataSource.
Starting the Data Flow
Here we prepare the data flow to process and input the data into the DataSource.

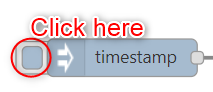
Click the "Edit Flow" button.
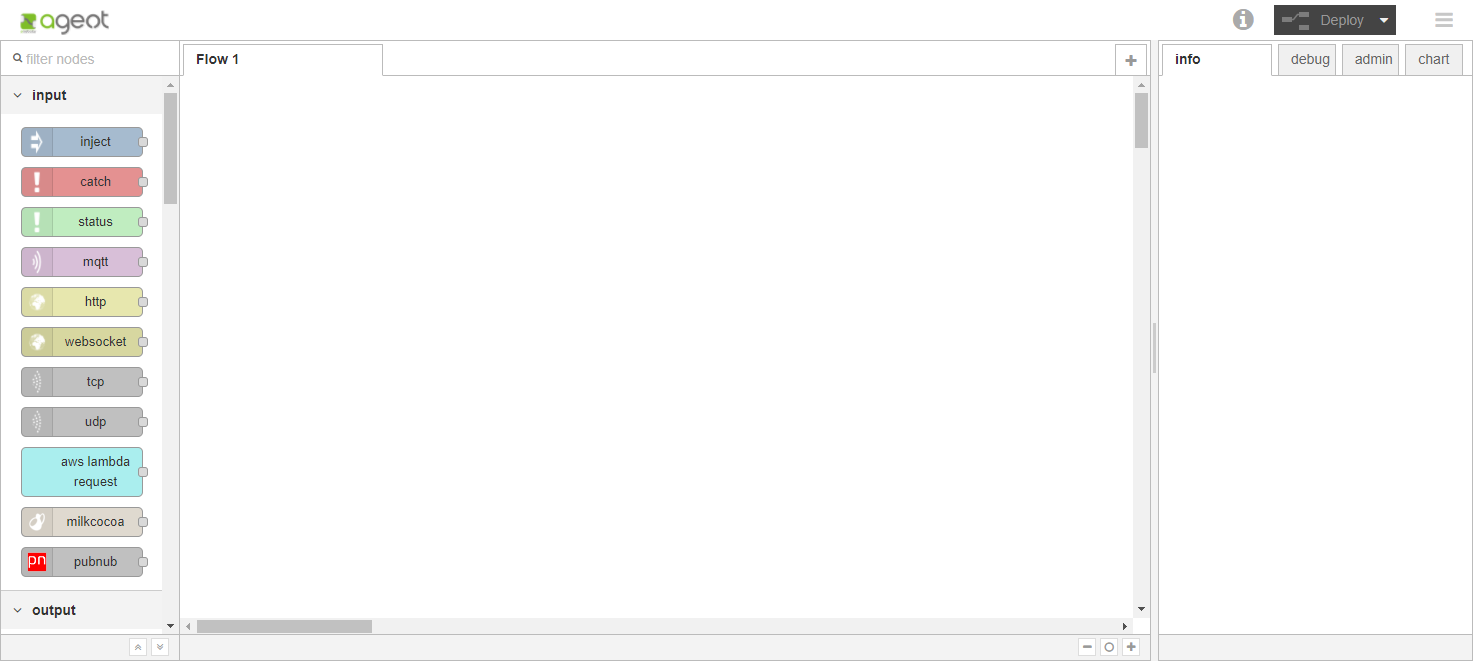
The Flow Editor opens in a new window.
An Example of Processing Data into a DataSource
The Structure
The example of processing data into a DataSource is structured as described below.
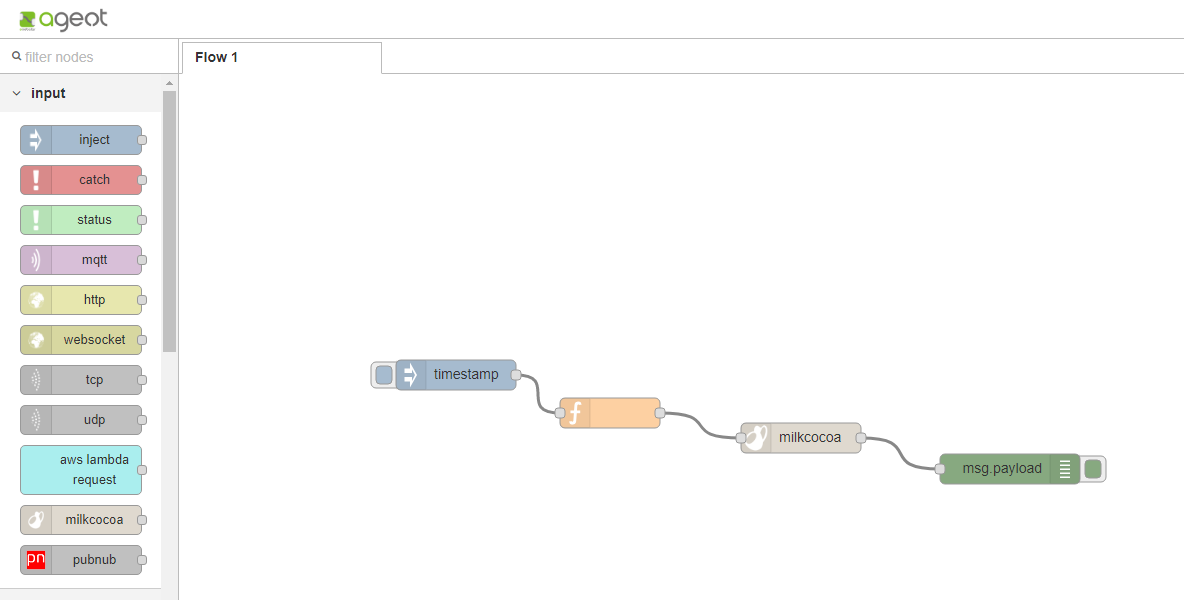
Flow
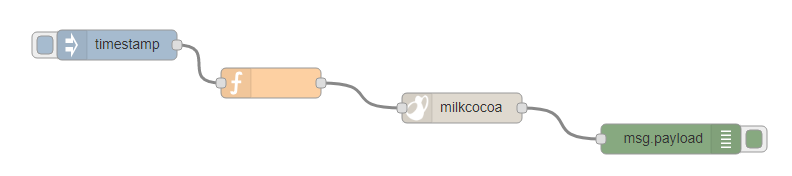
The flow is configured in the order: inject node → function node → milkcocoa node → debug node.
inject Node Settings
The inject node settings are OK as they are when the node is added.
function Node Settings
The following settings are used for the function node.
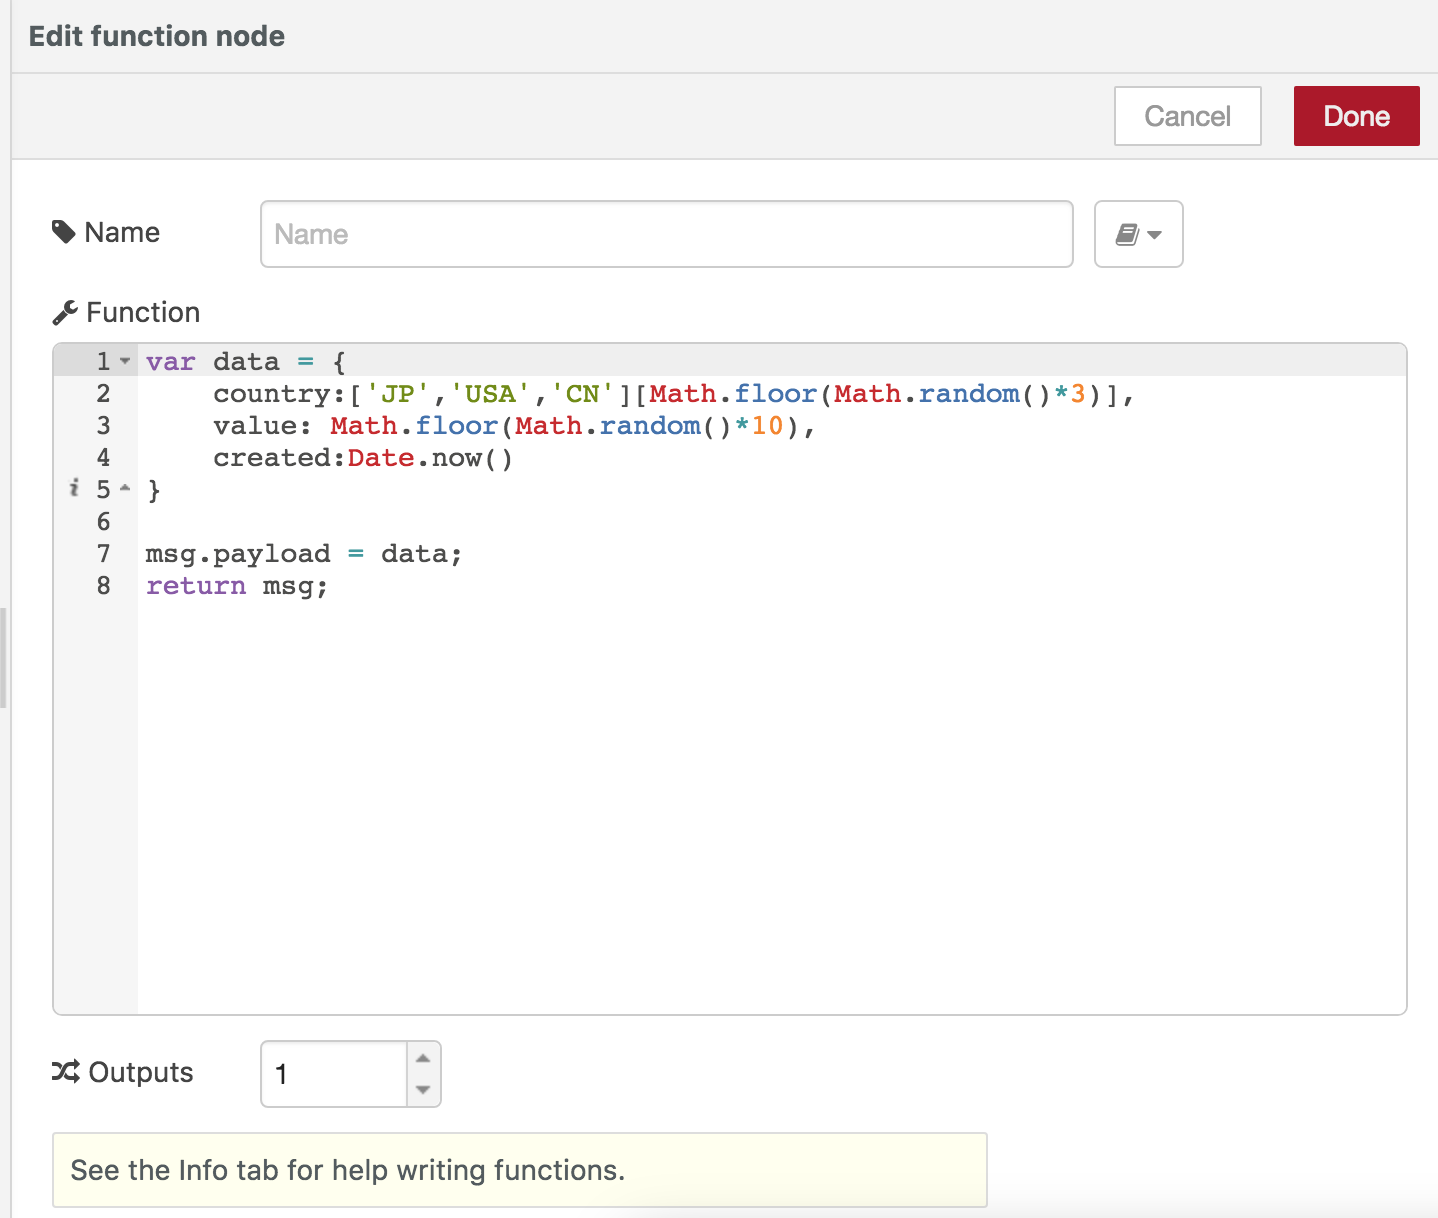
This script creates a random value between 0 and 9 to Milkcocoa, a country 'JP','USA' or 'CN'and a created date.
var data = {
    country:['JP','USA','CN'][Math.floor(Math.random()*3)],
    value: Math.floor(Math.random()*10),
    created:Date.now()
}

msg.payload = data;
return msg;
Milkcocoa Output Node Settings
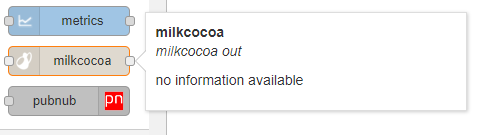
A Milkcocoa output node is used to to send data to the Milkcocoa DataSource.
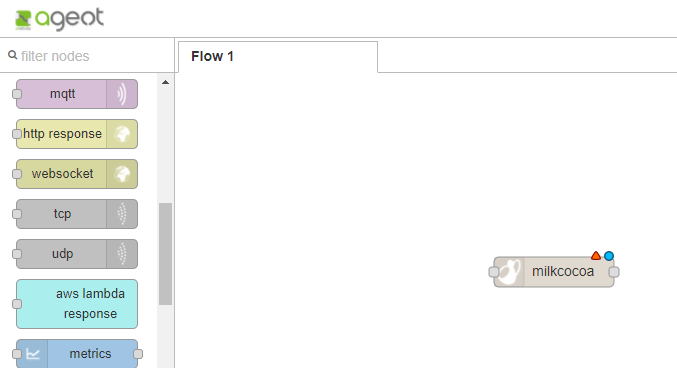
Place a Milkcocoa output node from the pallet.
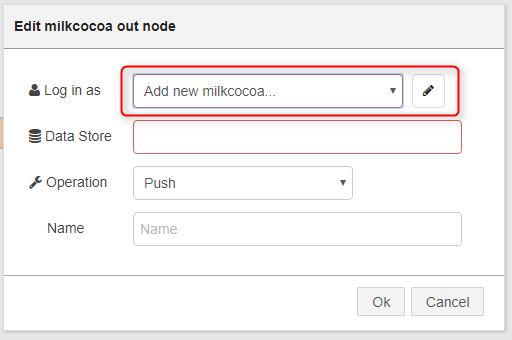
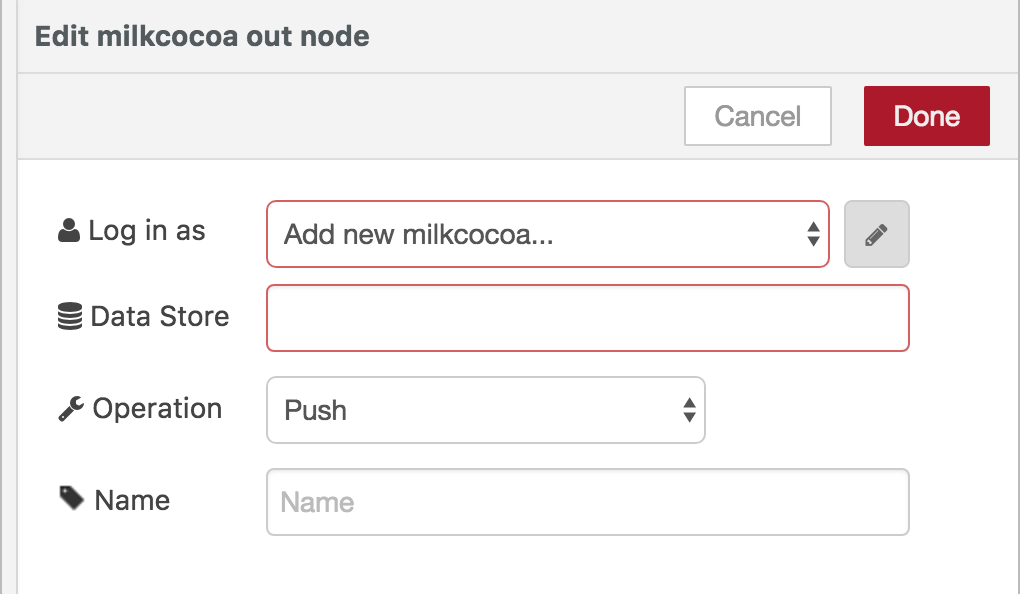
Show the properties, press the pencil button and set the Milkcocoa app information.
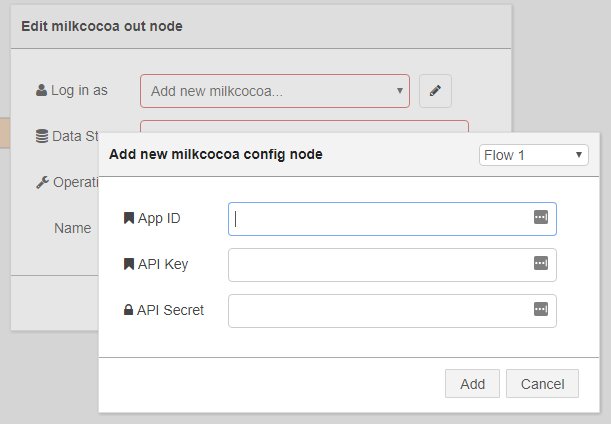
Enter all of the app information noted earlier.
- App ID
- The Milkcocoa APP ID for the DataSource
- API Key
- The API Key for the DataSource
- API Secret
- The API Secret for the DataSource
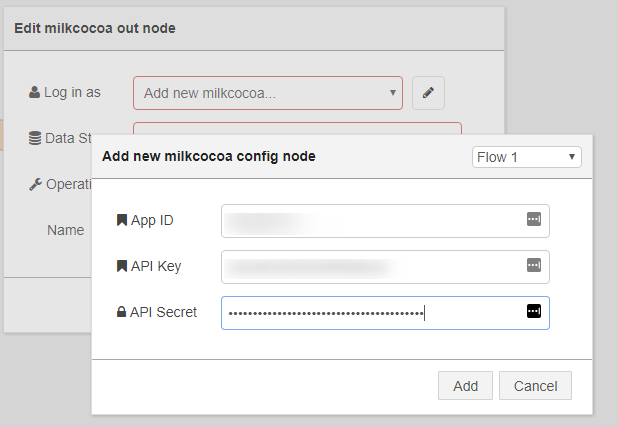
Press the Add button to register the settings.
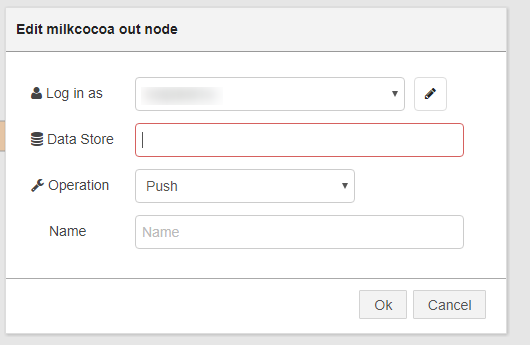
Returning to the Milkcocoa output node settings, also set the DataSource name.
debug Node Settings
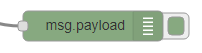
The debug node settings are OK as they are when the node is added.
Deploying
Deploy and close the window. This completes all configuration using the Flow Editor.
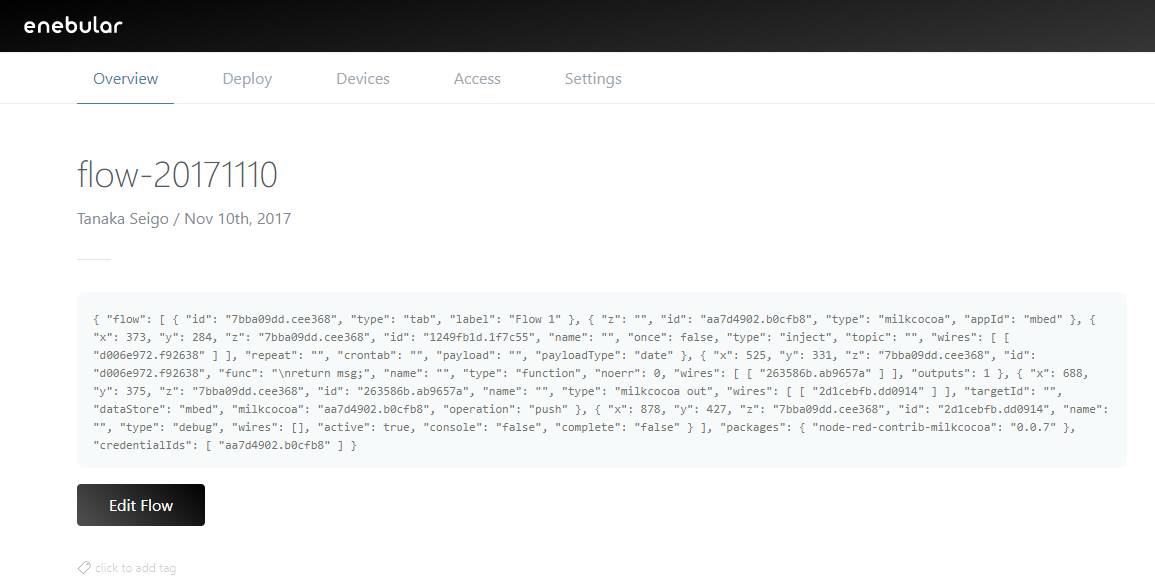
The new flow is shown in the flow list.
Running It
Data will be stored when you click the trigger on the left of the inject node. The stored data can be confirmed in the Milkcocoa management screen.